Cross-posted from the 201 Created Blog
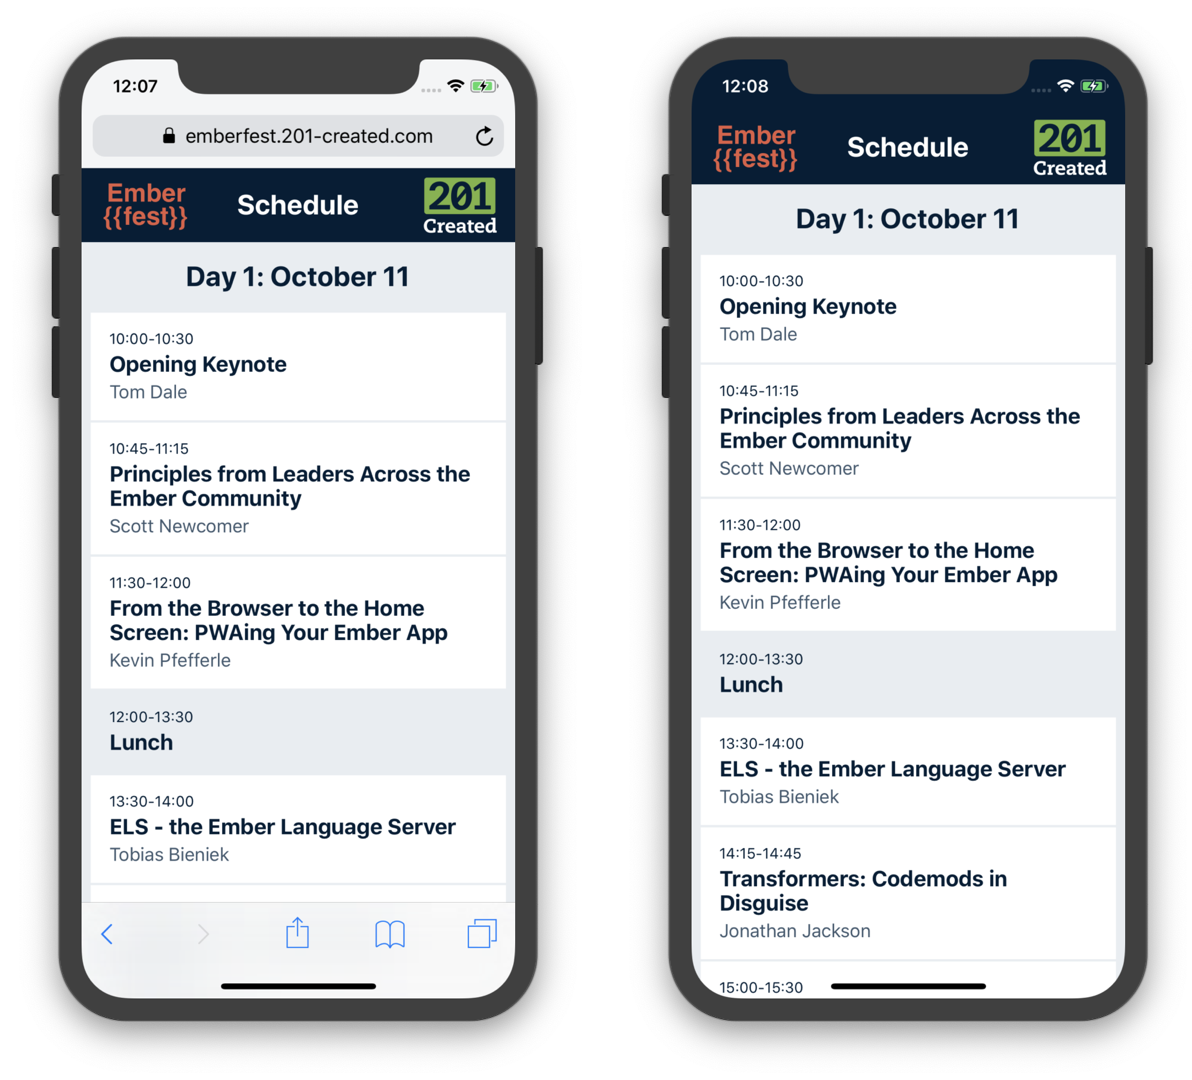
For EmberConf, we at 201 Created built a cutting-edge Ember mobile web app to serve as a convenient up-to-the-minute reference for the conference’s schedule. This month, I updated our schedule app for EmberFest and shared at the conference in Amsterdam how we achieved full PWA compliance when we built it. This blog post documents the same process in written form.
I’ll walk through the steps needed to take your Ember app out of the mobile browser and onto your users’ home screens. With added native platform support available just this year and the backing of the always-amazing Ember addon ecosystem, making your Ember app fully PWA-capable has never been easier or more worthwhile.
What is a PWA?
The PWA acronym stands for Progressive Web App, a term coined by Google to describe a category of web application that implements certain features that make the application excel on mobile devices. Google’s PWA Reference describes a PWA as having a few key characteristics:
- Reliable: PWAs load instantly, even in uncertain network conditions.
- Fast: PWAs respond quickly to user interaction.
- Engaging: PWAs feel like a natural app on the device with an immersive user experience.
By implementing PWA features, we have the chance to earn a place on our user’s home screen, providing an experience that feels more native to the device.
Why implement a PWA?
There are many reasons that developers choose to build a mobile-friendly web app. Maybe you’re trying to reach the greatest number of users with the lowest investment. Maybe the use case of your app is not something your users need regular daily access to, so they aren’t typically motivated to install a native app. Maybe you do offer a native mobile app, but also want to ensure that your mobile web experience also excels for users who don’t install it. Whatever your reason, implementing PWA features makes your mobile web app better for even more use cases.
Just like when we implement web accessibility features, PWA features don’t only benefit users who choose to install the app to their home screen.

How do I implement PWA in my Ember app?
The first thing we need when we seek to achieve PWA compliance is a tool to guide our development and let us know when we’ve achieved our goal. Google provides the Lighthouse tool to audit our PWA compliance. Originally published as a Chrome browser extension, Lighthouse is now available right inside the Chrome DevTools under the “Audits” tab:
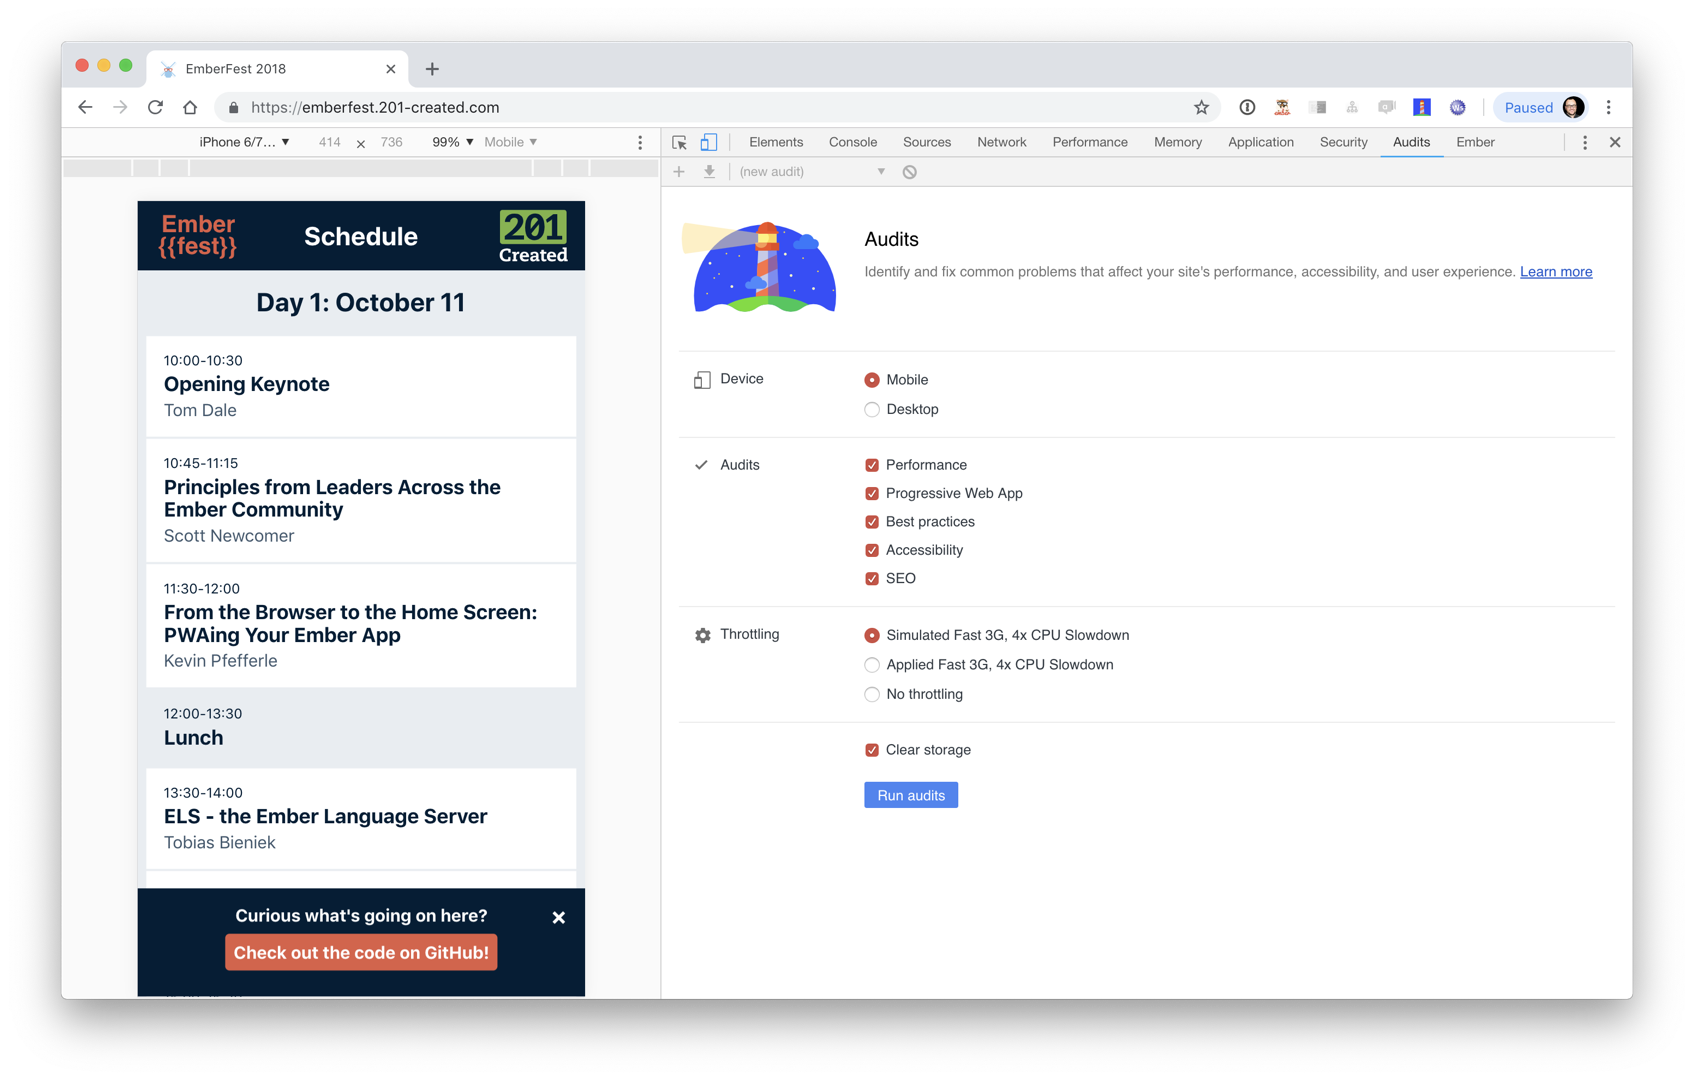
The downside of using Lighthouse inside Chrome DevTools is that the performance of the browser may be affected by any extensions you have installed. If you want to avoid this concern (or even want to run a Lighthouse audit as part of your CI), it’s also possible to use Lighthouse as a CLI by installing the Lighthouse NPM package:
npm install -g lighthouse
lighthouse https://emberfest.201-created.com --view
Starting Point
For this walkthrough, I’ll use the simplest Ember app available: the output of ember-cli’s ember new command. When we create a new Ember app, we are greeted by the Ember welcome page:

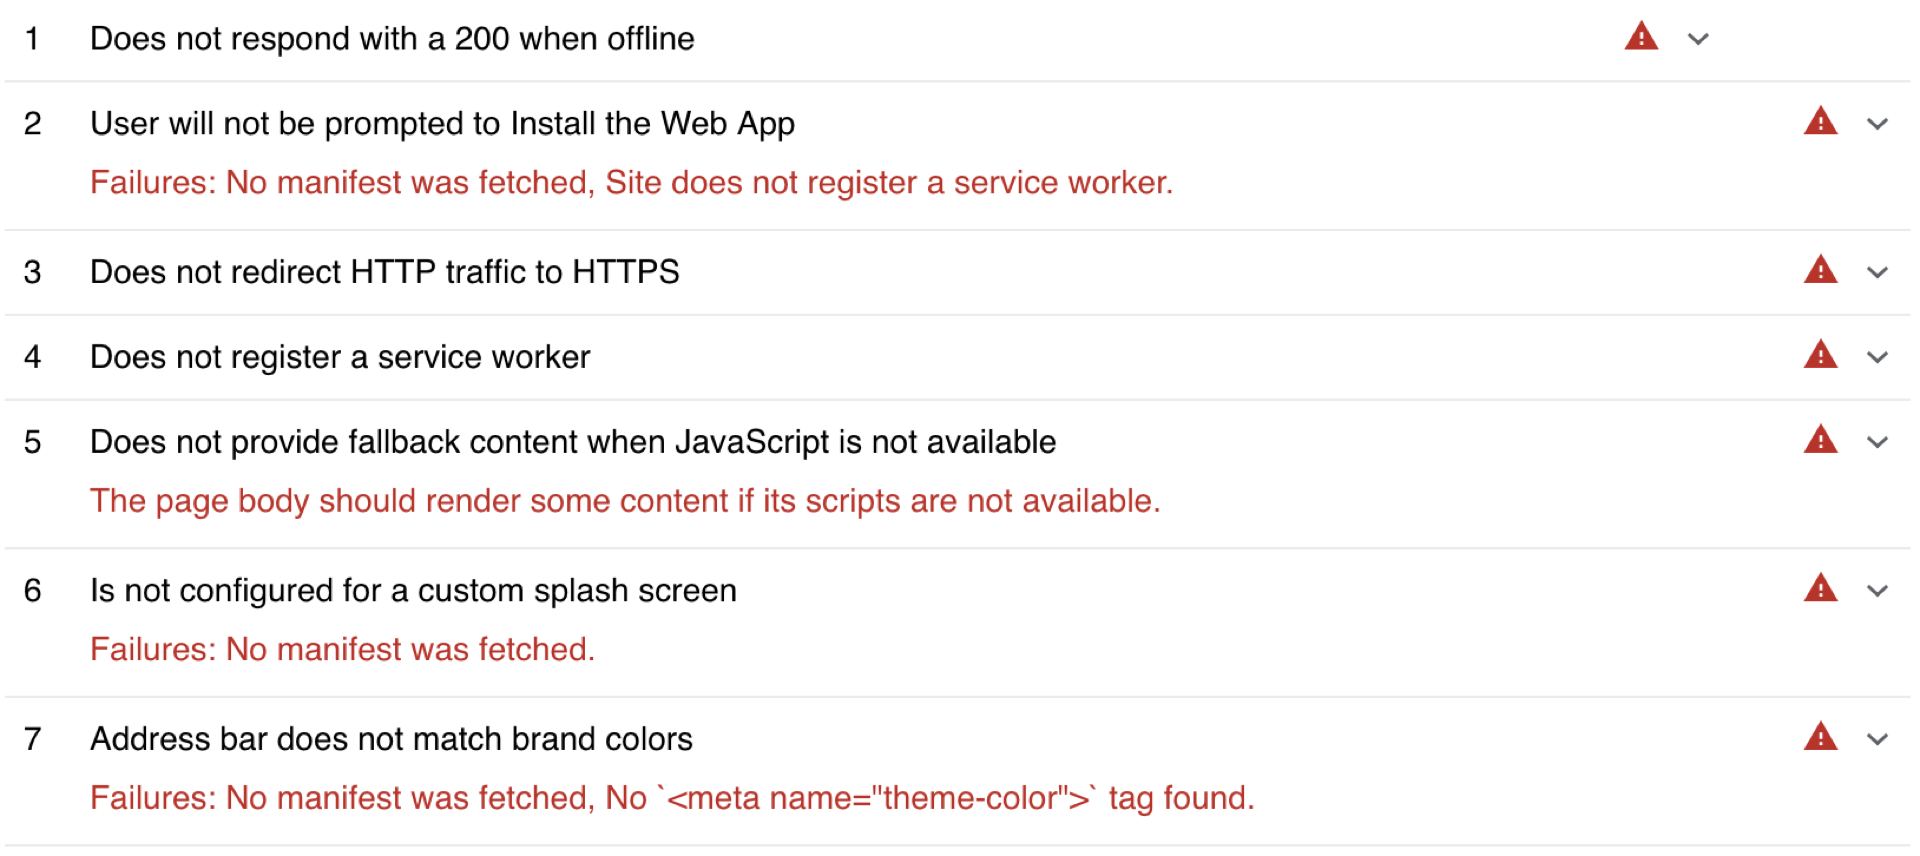
Running a Lighthouse audit on this new Ember app returns a score of 46/100 right out-of-the-box. Ember provides some basics by default such as a properly formatted <meta name="viewport"> tag. Lighthouse identifies a sizable list of shortcomings though:
Fallback Content when JavaScript is Unavailable
The first fault to address is the lack of fallback content should JavaScript be unavailable. In the Ember ecosystem, render the initial state of an Ember app by using Fastboot. For dynamic content, you may want to run an Ember Fastboot server in production, but since this conference schedule app contains only static content, I’ll use the Prember addon to pre-render the content of my index.html at build time:
ember install ember-cli-fastboot
ember install prember
To configure which URLs Prember should pre-render, define these URLs inside the project’s ember-cli-build.js:
// ember-cli-build.js
let app = new EmberApp(defaults, {
  prember: {
    urls: [
      '/'
    ]
  }
});
Once Fastboot has been installed, it will run when the Ember server is started with ember serve. To use Prember pre-rendering in development, set the PREMBER environment variable before starting the Ember server:
PREMBER=true ember serve
Now running a Lighthouse audit shows a PWA score of 50/100. Though we’ve addressed displaying some content when JavaScript is not available, there’s still a list of shortcomings to address:
Offline Caching with Service Worker
In order to implement service worker support for offline caching, use the ember-service-worker addons:
- ember-service-worker is the base addon that registers a service worker with the browser.
- ember-service-worker-index caches the Ember app’s
index.htmlfile. - ember-service-worker-asset-cache caches an Ember app’s asset files. By default it will cache anything in the
/assets/folder, but can be configured to cache additional assets. - ember-service-worker-cache-fallback resorts to a cached fallback version of a network response when a network request fails. This addon is also well-suited for providing a fallback for a dynamic Fastboot index response. It can even be used to provide a fallback for failed API responses!
For the basic Ember Welcome Page app, I’ll use the base addon plus the index and asset cache addons:
ember install ember-service-worker
ember install ember-service-worker-index
ember install ember-service-worker-asset-cache
Since the Ember Welcome Page tomster image is served from a directory other than /assets/, I’ll add configuration to ember-cli-build.js to cache this image:
// ember-cli-build.js
let app = new EmberApp(defaults, {
  'asset-cache': {
    include: [
      'assets/**/*',
      'ember-welcome-page/images/*'
    ]
  }
});
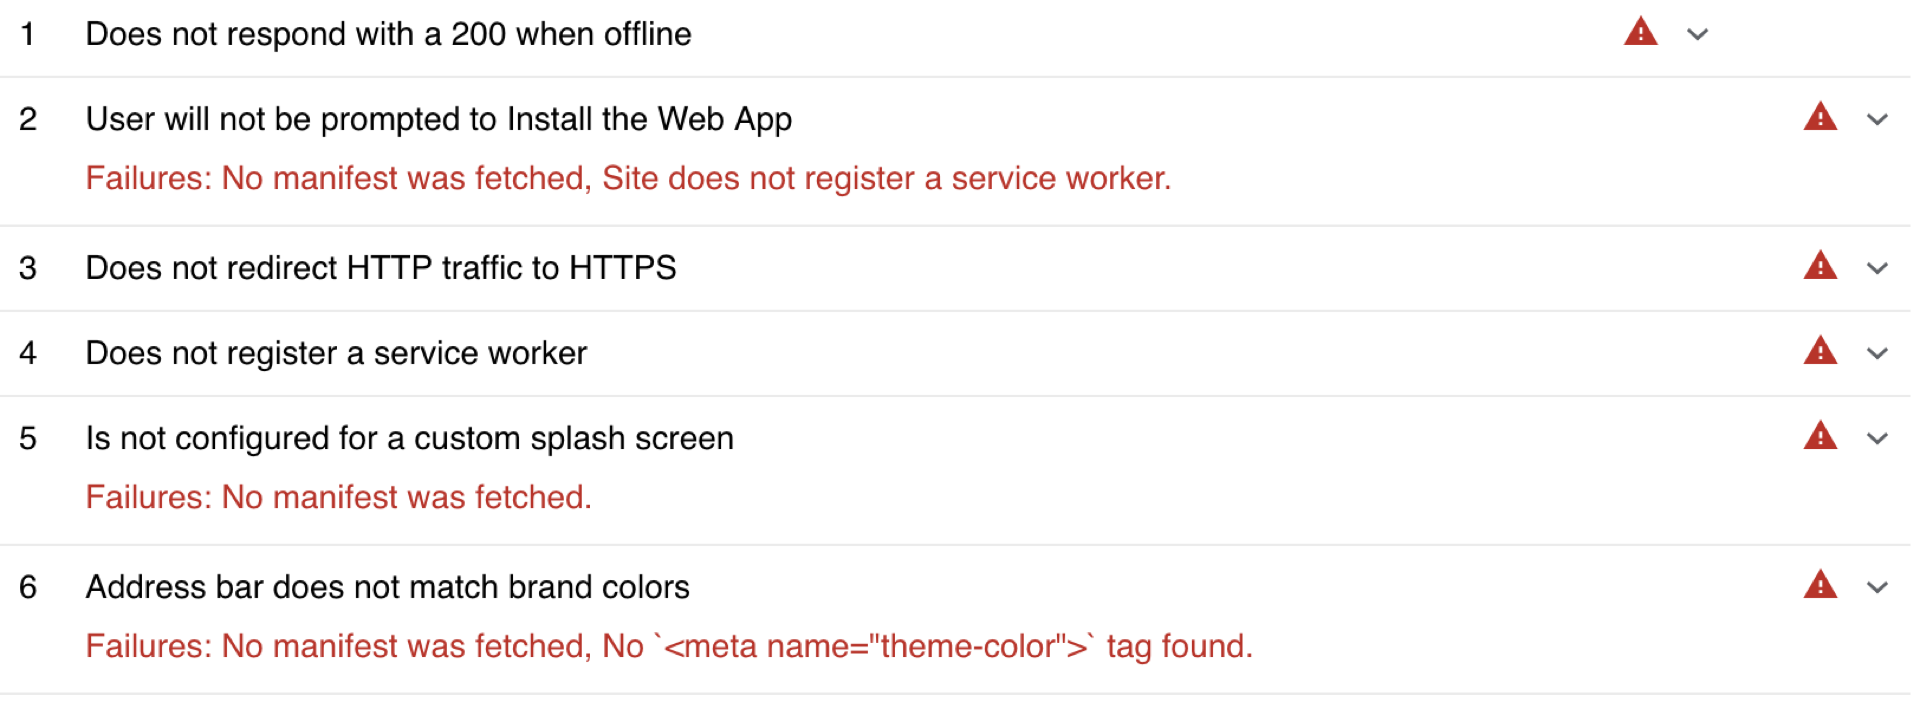
A new Lighthouse audit shows a PWA score of 73/100. This is a significant step forward as we’ve addressed both the “registers a service worker” and “responds with a 200 when offline” items. There are still a handful of items to address:
Web App Manifest
Three of the four remaining items mention a “manifest”. The Mozilla Developer Network defines a web app manifest as follows:
The web app manifest provides information about an application (such as name, author, icon, and description) in a text file. The purpose of the manifest is to install web applications to the homescreen of a device, providing users with quicker access and a richer experience.
As may be expected by this point, the Ember addon ecosystem again provides us with a path to implementing a web app manifest through the ember-web-app addon:
ember install ember-web-app
Installing this addon generates a manifest configuration at config/manifest.js. I’d highly recommend consulting the (ember-web-app documentation)[https://github.com/san650/ember-web-app/blob/master/README.md] to understand what the different configuration values do. For now, I’ll use the default configuration plus set the Welcome Page Tomster as the app’s icon:
// config/manifest.js
module.exports = function() {
  return {
    name: "emberfest",
    short_name: "emberfest",
    description: "",
    start_url: "/",
    display: "standalone",
    background_color: "#fff",
    theme_color: "#fff",
    icons: [
      {
        src: "/ember-welcome-page/images/construction.png",
        sizes: "540x540",
        type: "image/png"
      }
    ]
  };
}
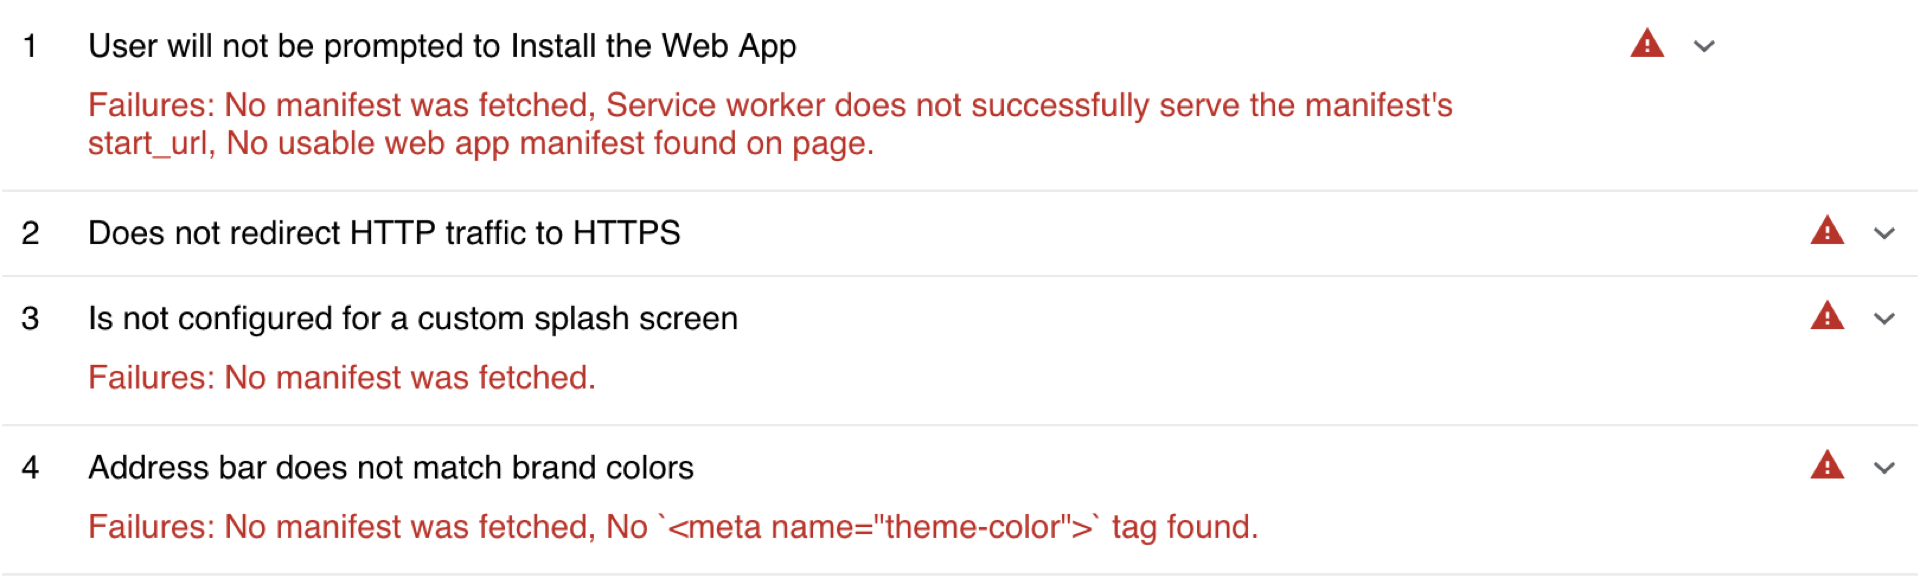
The Lighthouse audit now shows a PWA score of 92/100. There’s only one item left to address:

While it would be possible to implement HTTPS in development, this is a concern probably best implemented as part of deployment. Once the app is deployed and configured to redirect HTTP to HTTPS, a Lighthouse audit will show a PWA score of 100/100!